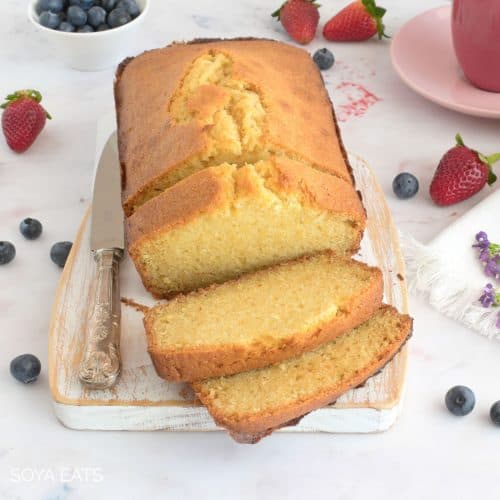
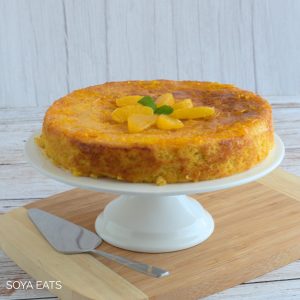
If you love a moist and flavorsome cake, make this gluten-free dairy-free orange cake. It is not only gluten-free and dairy-free it is also nut-free, making it the perfect cake that everyone can enjoy.

Jump to:
- Why You Will Love This Recipe
- Cost to Make
- What is Okara?
- Can You Eat Uncooked Okara?
- More About the Gluten Free Orange Cake Recipe
- Why Boil the Oranges
- Ingredients
- Equipment
- Instructions
- Recipe Tips
- Serving Size
- Calories Per Serve
- Serving Suggestions
- Substitutions
- Variations
- Storage
- Okara Recipes
- More Easy Recipes
- Recipe
- Feedback
Why You Will Love This Recipe
- This whole orange cake is made with fresh soy okara, eggs, and sugar.
- It is a moist cake that is busting with orange flavour.
- This is cake a great alternative to an orange almond cake if you have a nut allergy because fresh soy oraka replaces the almond meal.
Cost to Make
Estimated cost = $6.90 or $0.69 a serve
What is Okara?
Okara is the leftover pulp from making soy milk or tofu, known as a Japanese term.
It is packed with fiber, calcium, protein, and other minerals, making it a healthy ingredient for various dishes.
While fresh okara is commonly found in Japan, Korea, and China, it is not as easily available elsewhere unless you make soy milk or tofu at home.
If you are curious about using okara, check out our helpful article on "What To Do With Soya Bean Pulp," where we discuss how to cook, store, dry, and even turn it into a powder.
For more insights into okara, you can also read our post "What Is Okara?"
Can You Eat Uncooked Okara?
To know if okara is safe to eat, it is important to know where it comes from: if it was made from cooked or uncooked soybeans.
You can figure this out by understanding how it was used when making soy milk.
There are two methods of making soymilk:
- One method is to grind soaked uncooked beans, squeeze the milk from the pulp, then heat the pulp free milk for safety. The raw okara from this method requires cooking for dishes like salads but can be used in recipes that involve cooking, to ensure safety.
- The other method is to cook soaked beans in water, then grind and extract the milk from the pulp. Okara from this method is already cooked and safe for use, especially in cold dishes.
If there is any uncertainty about how it was made, it is best to cook the okara to ensure safety.
If you are using powdered okara, it has already been cooked and is safe to use in cooking.
More About the Gluten Free Orange Cake Recipe
- This cake is not something that you put together at the last minute because you do need to boil whole oranges for 2 hours and cool them before making the cake.
- It is a very moist cake this is due to the moisture content from the fresh okara and oranges.
- When making your soy milk, be sure to squeeze out as much liquid as you can from the okara pulp to get it as dry as possible for this cake recipe, because if you don't the excess moisture will make the cake too wet and it won't cook properly.
Why Boil the Oranges
The reason for boiling whole oranges is not only to soften the peel and make it easier to blend, but it will also remove the bitter taste that the pith has.
Ingredients
Please note that below is a guide for some of the ingredients we used in the recipe. The printable recipe further down the page has the complete list of ingredients, including quantities and step-by-step instructions.
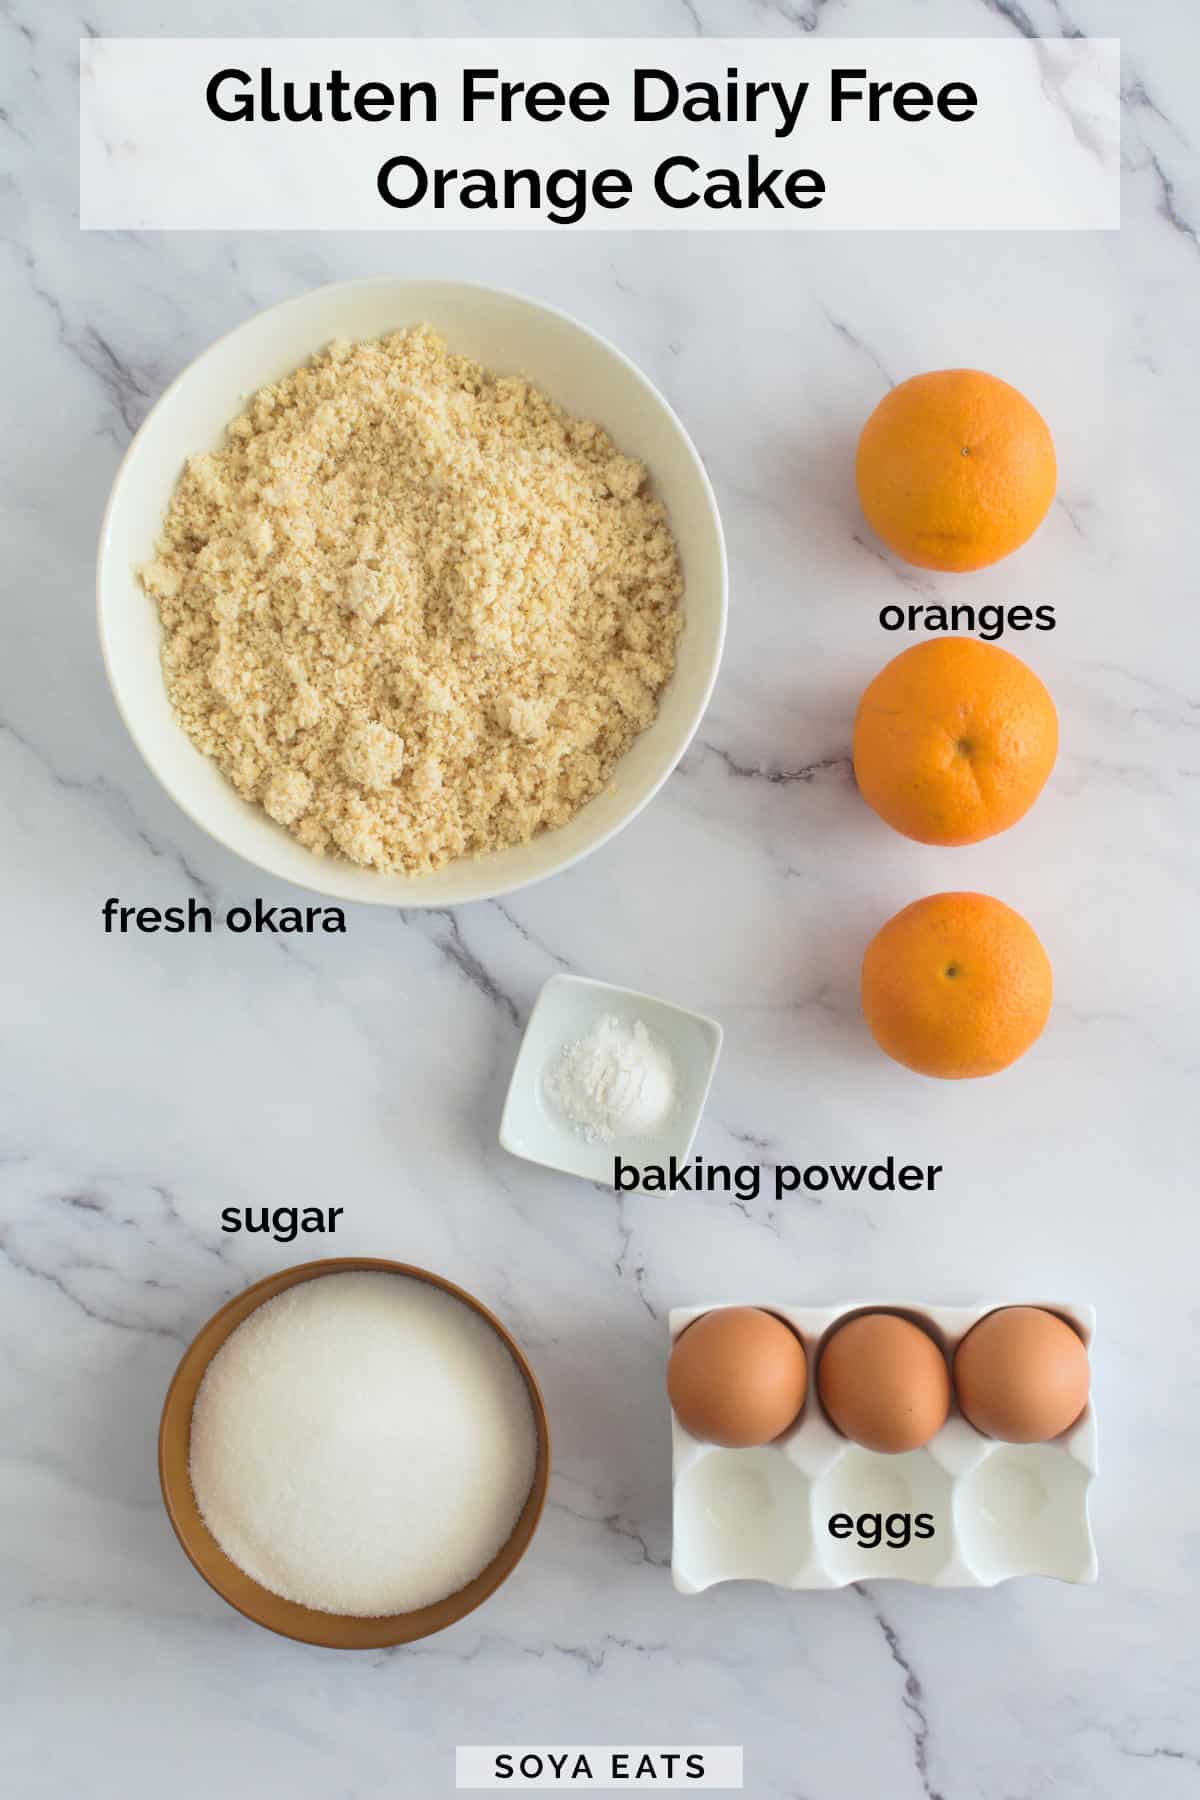
Oranges - The average size of the oranges used to make this recipe was about 5.3 ounces (150 grams)
Eggs - use large eggs with an average weight of about 1.9 ounces (56 grams)
White granulated sugar
Fresh okara - When making your soy milk, be sure to squeeze out as much liquid from the pulp as possible, because you don't want the pulp to be saturated in moisture for this recipe.
Gluten-free baking powder
Equipment
- Food processor
- Kitchen scales or measuring cups
- Electric mixer, handheld or stand
- 8-inch (22 cm) round spring form tin
- Nonstick baking paper
- Wire cake rack
Instructions
Advanced Prep
Before making the cake, you will need to boil whole oranges and cool them to remove the bitterness from the skin.
The oranges can be cooked the day before or 3-4 hours before making the cake.
- Place the oranges in a medium saucepan and cover them with cold water.
- Place the pot over high heat and bring to a boil, reduce the heat to medium and cook the oranges for 15 minutes or until tender.
- Drain, then cover the oranges with more cold water, bring to a boil, and cook for another 1 hour and 45 minutes, checking the water level as it cooks and top it up with boiling water when necessary.
- Drain, and allow to cool completely.
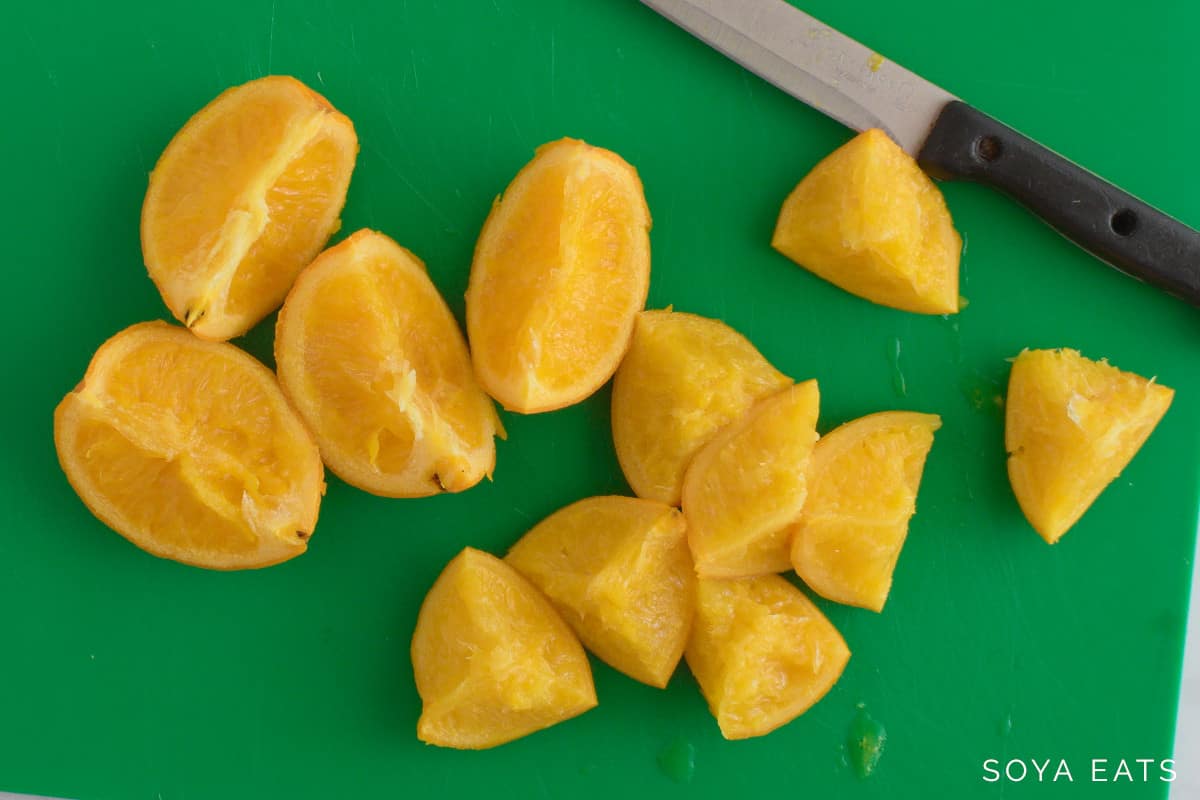
- Cut the oranges into pieces, remove and discard the seeds, and allow to cool completely before making the recipe.
Note: If preparing the day before, store the cooked and cooled oranges in the fridge until ready to use.
Make the cake
Preheat the oven to 340°F (170°C). Lightly grease and line an 8-inch (22 cm) round spring-form tin with nonstick parchment paper.
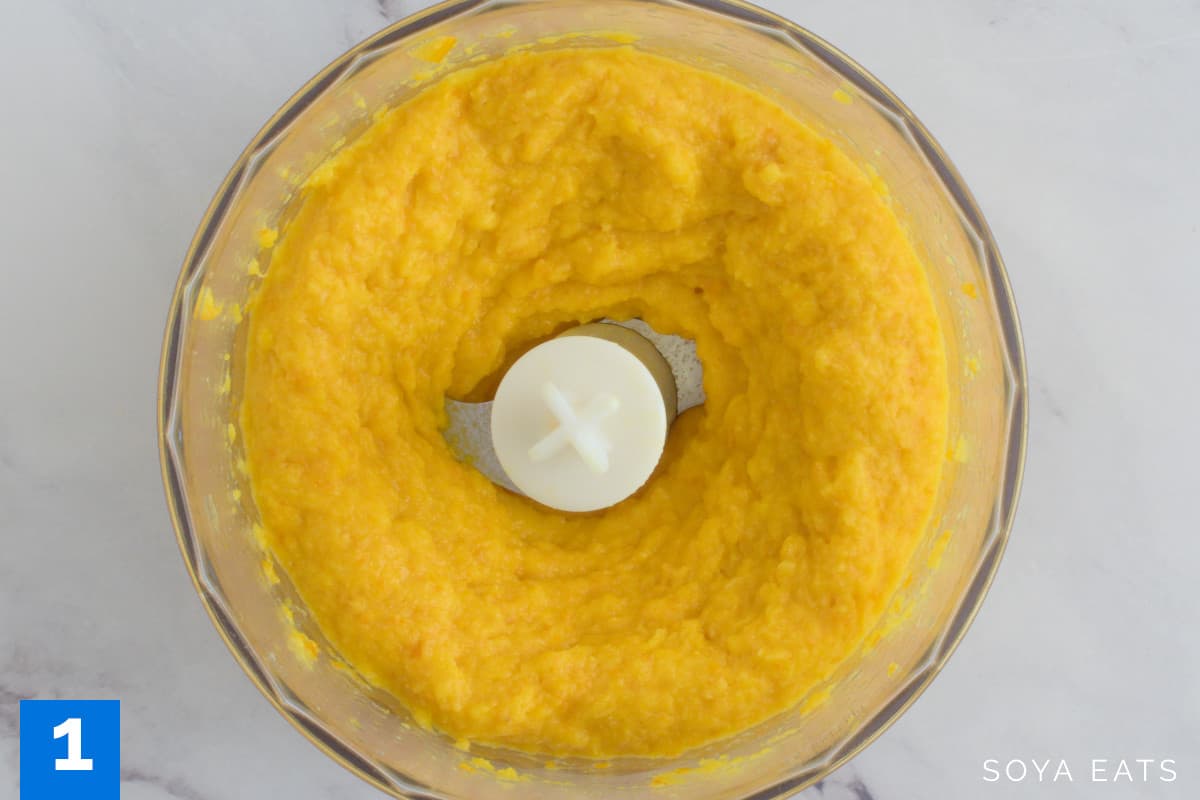
Step 1 - Place the oranges into a food processor and process until smooth.

Step 2 - Place the eggs and sugar into a large mixing bowl and beat with an electric mixer until pale and thick.

Step 3 - Gently fold in the pureed orange, okara, and baking powder until just combined.

Step 4 - Pour the batter into the prepared cake tin. Bake for about 1 hour or until a skewer inserted into the center of the cake comes out clean.
Remove from the oven and let stand in the tin for 15 minutes to cool.
Step 5 - Meanwhile, make the orange syrup. Use a zester to remove the rind from the orange, or use a vegetable peeler to peel the rind from the orange, then use a small knife to scrape the white pith from the peel skin, then juice the orange.

Place the orange zest in a small saucepan, cover with boiling water, and cook over medium heat for 5 minutes or until soft (this will remove the bitterness from the skin), then drain.
Return the cooked peel to the pot, add the orange juice and sugar, place over low heat, and cook, stirring, for 3-4 minutes or until the sugar dissolves and the syrup thickens.
Finish the cake

Step 6 - While the cake is still warm and still in the tin spoon the syrup over the top.
Remove the side of the tin and allow the cake to cool completely, then transfer to a serving plate.
Recipe Tips
- You must line the tin with good quality nonstick baking paper because this cake tends to stick.
- Be sure to beat the sugar and eggs for at least 5 minutes or until they become thick and increase in volume.
- Lightly fold the other ingredients into the beaten egg and sugar mixture until they just combine.
- Avoid overmixing the batter, which can cause the air bubbles in the batter to deflate, which will result in a flat-looking cake.
- If the cake looks like it is browning too quickly on the top, loosely cover the top with a piece of aluminum foil.

Serving Size
This cake serves 10.
Calories Per Serve
There are about 208 calories per serving.
Serving Suggestions
- This cake is delicious cold or at room temperature.
- Decorate the cake with orange segments and a mint leaf.
- Serve with your favorite nondairy cream or natural yogurt.
- Just before serving dust the top of the cake with powdered sugar (icing sugar)
Substitutions
If you do not have fresh soy okara you can use the same amount of almond meal or almond flour. It will still be a gluten-free dairy free cake however, it will not be nut-free.
Variations
You can make 12 individual cupcakes with this cake mix like we did for our gluten-free okara chocolate cake, by lining a muffin tin with homemade muffin liners made with nonstick baking paper.
Do not use the cupcake paper cases because the cake will stick to them.
Storage
Refrigeration – This cake is best stored in the fridge and will keep well for up to 7 days.
Freezing – This gluten free cake can be frozen, and wrapped well in plastic food wrap or an air tight container. When needed allow the cake to thaw and come to room temperature before serving.

Okara Recipes
- Okara Hummus Style Dip
- Okara Mitarashi Mochi
- White Okara Bread
- Easy Okara Recipes
- Chocolate Chip Okara Muffins
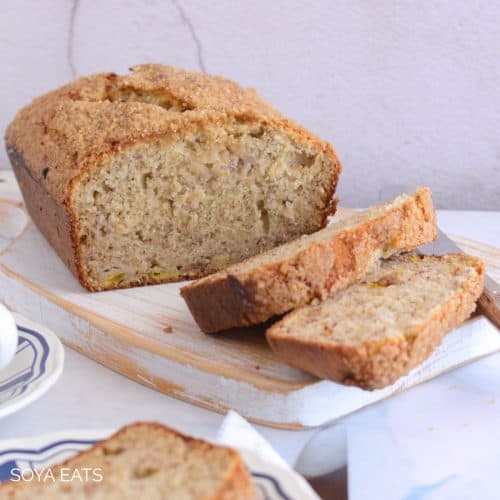
- Okara Banana Bread
- Vanilla Okara Pound Cake
- What is Okara?


Recipe
Gluten Free Dairy Free Orange Cake
Equipment
- Food processor
- Kitchen scales or measuring cups
- Electric mixer, handheld or stand
- 8 inch (22 cm) round spring form tin
- Nonstick baking paper
- Wire cake rack
Ingredients
- 2 medium size oranges
- 3 large eggs
- 1 cup (215 grams) white sugar
- 3 cups (300 grams) fresh okara
- 1 teaspoon gluten-free baking powder
Orange Syrup
- 1 orange
- ¾ cup (155 grams) white sugar
Instructions
Advance Preparation (the day before or 3-4 hours before making the cake)
- Place the oranges in a medium sauce pan can cover them with cold water.
- Place the pot over high heat and bring to a boil, reduce the heat to medium and cook the oranges for 15 minutes or until tender.
- Drain, then cover the oranges with more cold water, bring to a boil, and cook for another 1 hour and 45 minutes, checking the water level as it cooks and top it up with boiling water when necessary.
- Cut the oranges into quarters, remove and discard the seeds, and allow to cool completely before making the recipe.Note: If preparing the day before, store the cooked and cooled oranges in the fridge until ready to use.
Make The Cake
- Preheat the oven to 338°F (170°C). Lightly grease and line an 8-inch (22 cm) round spring-form tin with nonstick parchment paper.
- Place the oranges into a food processor and process until smooth.
- Place the eggs and sugar into a large mixing bowl and beat with an electric mixer until pale and thick.
- Gently fold in the pureed orange, okara, and baking powder until just combined.
- Pour the batter into the prepared cake tin.
- Bake for about 40 minutes or until a skewer inserted into the center of the cake comes out clean.
- Remove from the oven and let stand in the tin for 15 minutes to cool.
Make Orange Syrup
- Meanwhile, make the orange syrup. Use a zester to remove the rind from the orange, or use a vegetable peeler to peel the rind from the orange, then use a small knife to scrape the white pith from the peel skin, then juice the orange.
- Place the rind in a small saucepan, cover with boiling water, and cook over medium heat for 5 minutes or until soft (this will remove the bitterness from the skin), then drain.
- Return the cooked peel to the pot, add the orange juice and sugar, place over low heat, and cook, stirring, for 3-4 minutes or until the sugar dissolves and the syrup thickens.
Finish The Cake
- While the cake is still warm and still in the tin spoon the syrup over the top.
- Remove the side of the tin and allow the cake to cool completely, then transfer to a serving plate.


Comments
No Comments